Making an animated cartoon: Ward Kimball
- a concept was created
- a story was written
- characters were designed and developed
- a storyboard was created using these characters, resembling a comic book with related elements pencilled in (camera moves, audio effects, artwork manipulations, etc)
- soundtrack/ music composition/ vocals were recorded
- the storyboard and available audio elements were made into a 'leica' (or 'pose') reel to study timing and movement
- (after a lengthy scrutinizing procedure) animation scenes were 'doped' and handed out ('dopesheets' were a common name for the animation 'draft' breakdown that was given to each animator, carefully outlining and detailing each scene by each individual drawing requirements)
- the animation was produced (many studios allowed reanimating and reshooting to achieve that perfect scene, including Disney and MGM.... the less wealthy studios couldn't afford this kind of time, which affected the output's look ever-so-slightly)
- test reels were built and additional music/sound effects were added to the existing audio tracks
- several versions/renditions were created, until the directors, producers, unit team, etc were satisfied with the results- then the animation was inked and sent to cel painters
- once all elements were ready, the production was put together and a 'director's cut' was made- this is the stage where scenes were often deleted based on the current running of the filmafter all other amendments were made, the final print was struck and people were in the theatres enjoying the great animation.
Now, why did I go through all that, anyway?
Well, because I want to present some interesting animated material based on one of those steps.
What I have here to follow is the layout drawings used by Ward Kimball for the production of "Pinocchio" so that you readers can see a bit of the process in action. In step #6 above, to start with, each folder the animator received had a 'cover sheet', much like that included with a fax, with handwritten notes informing the recipient of anything of interest- here is an example of the one Ward received for the scene he was given:
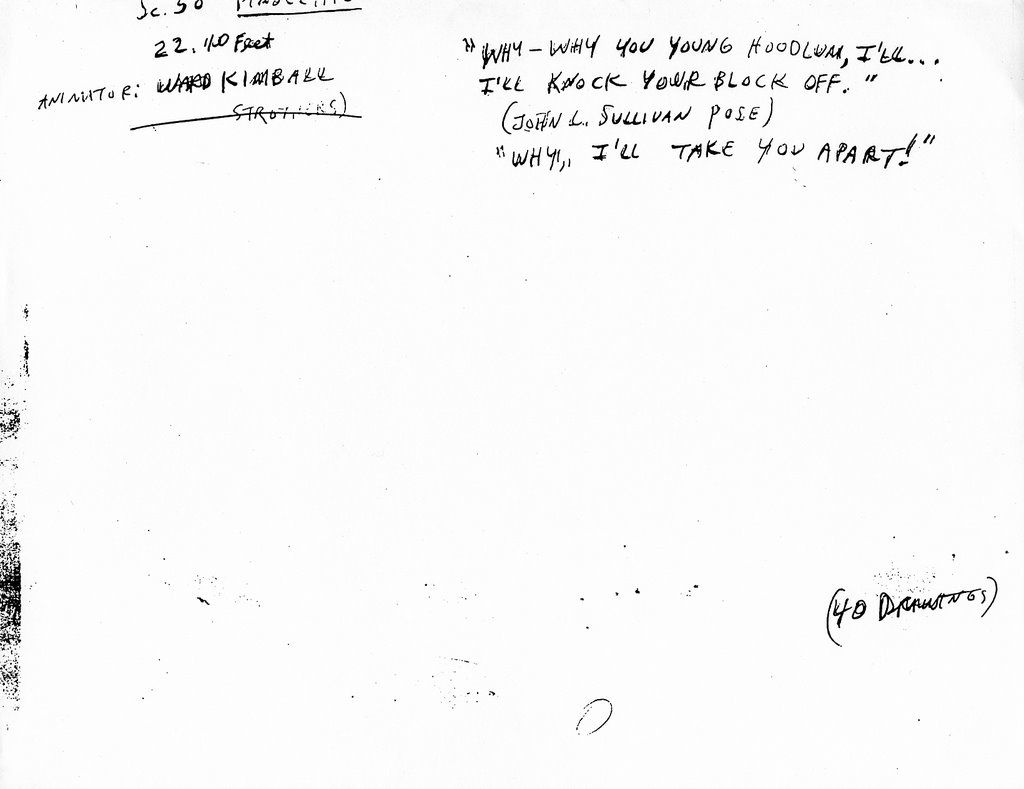
A brief summary was indicated so that the animator would have a concept of what was expected of him/her. All drawings were recorded on an accompanying dopesheet, even the inbetweens- but all the animator had to do was create the key poses (usually circled on the dopesheet and on themselves). From here an inbetweener would take over and fill in the missing drawings required to complete the animated scene.
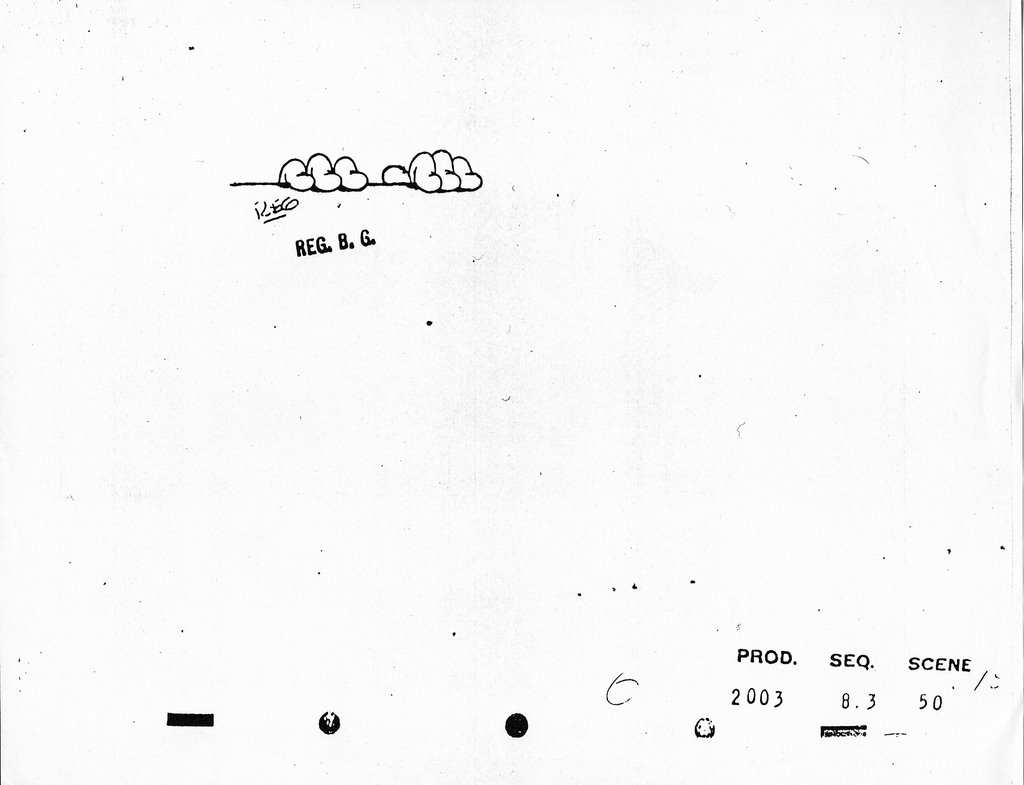
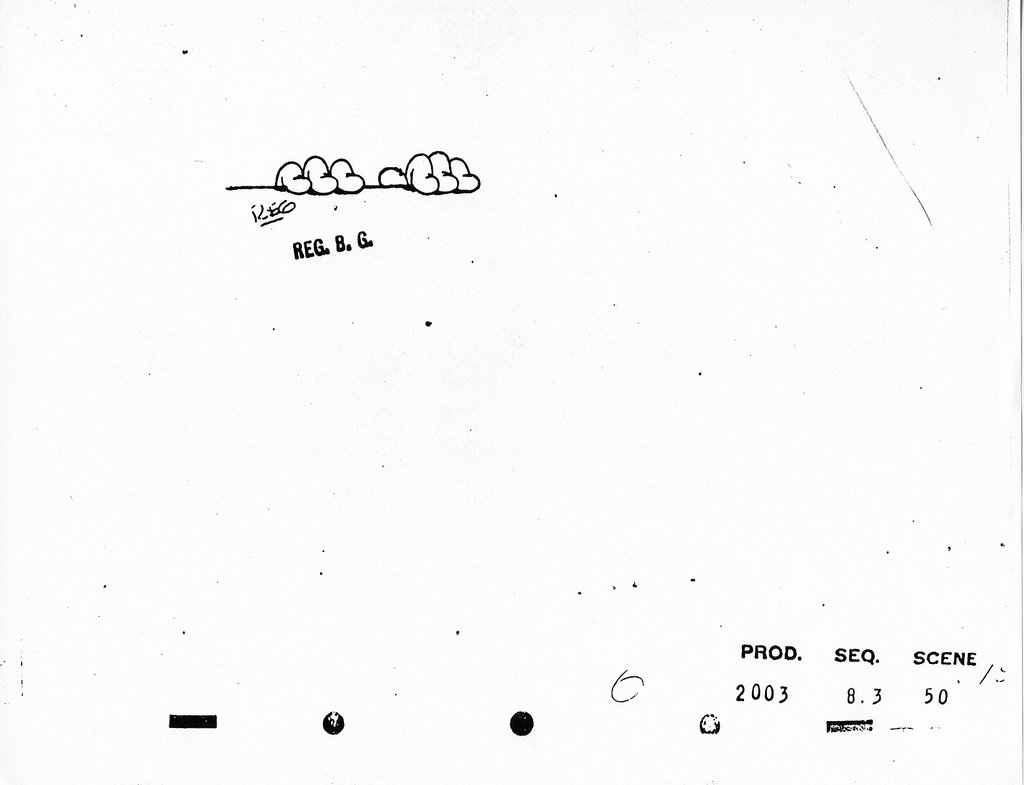
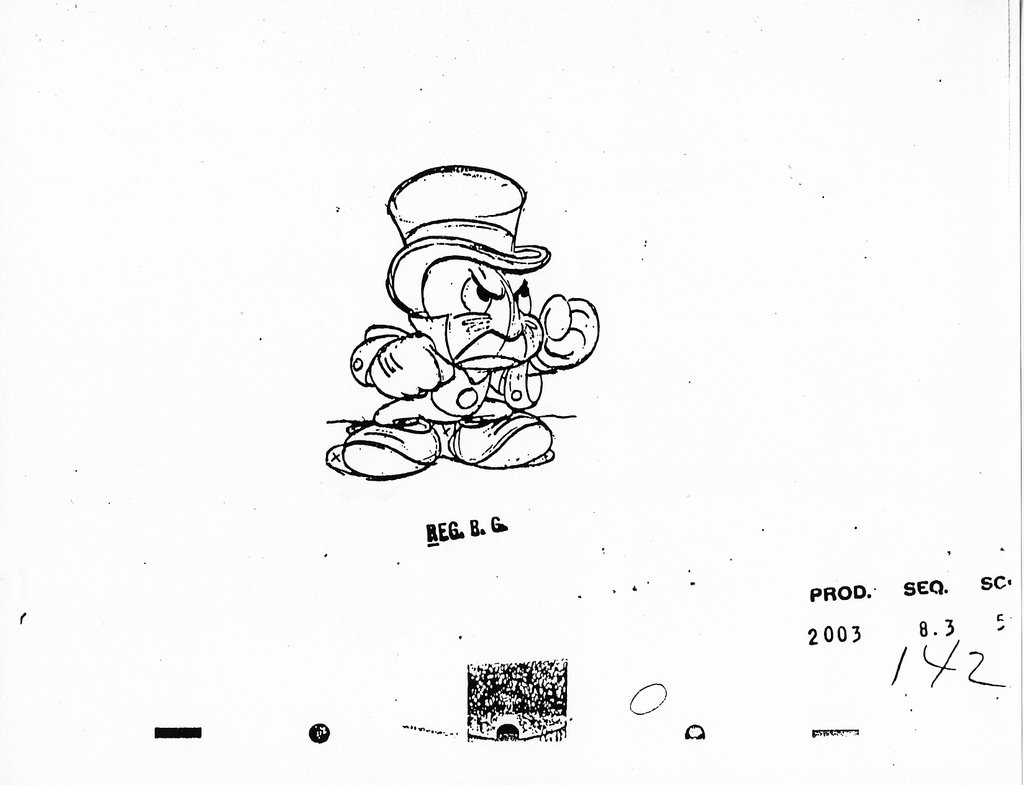
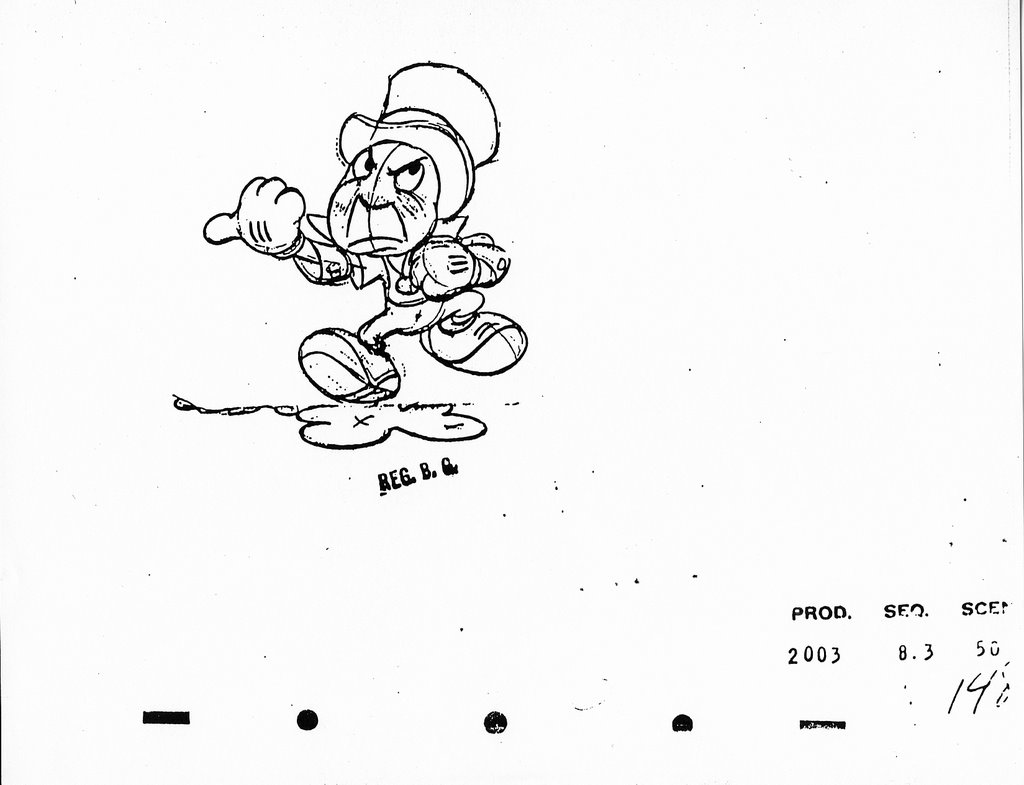
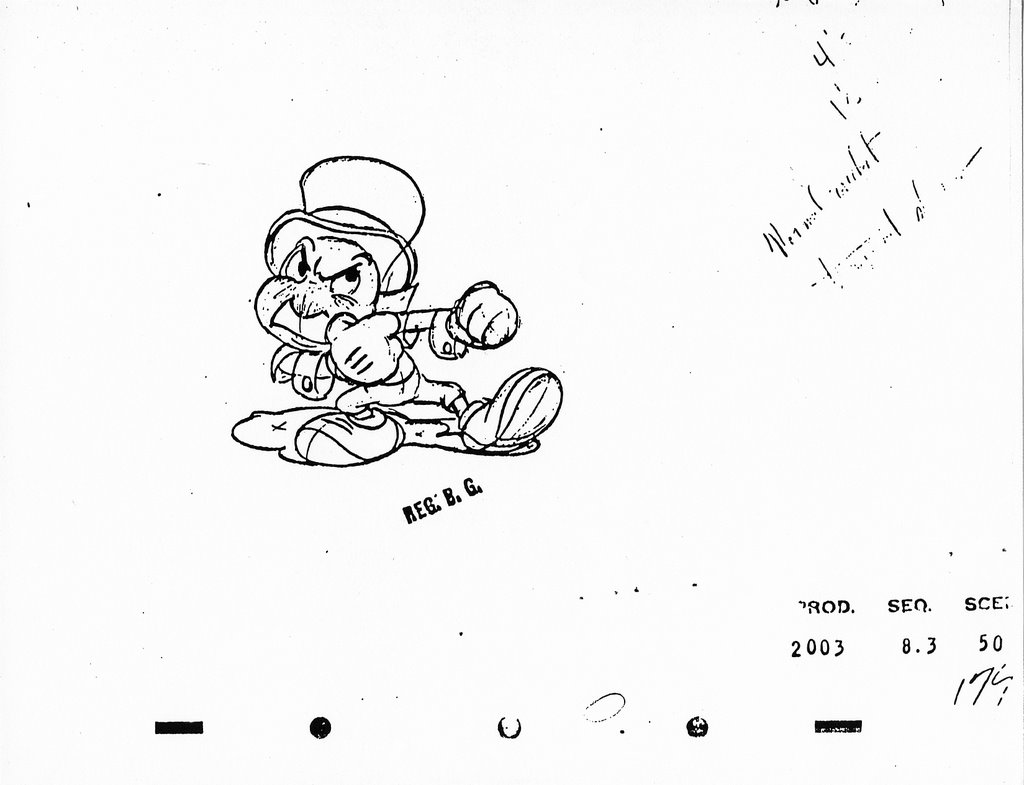
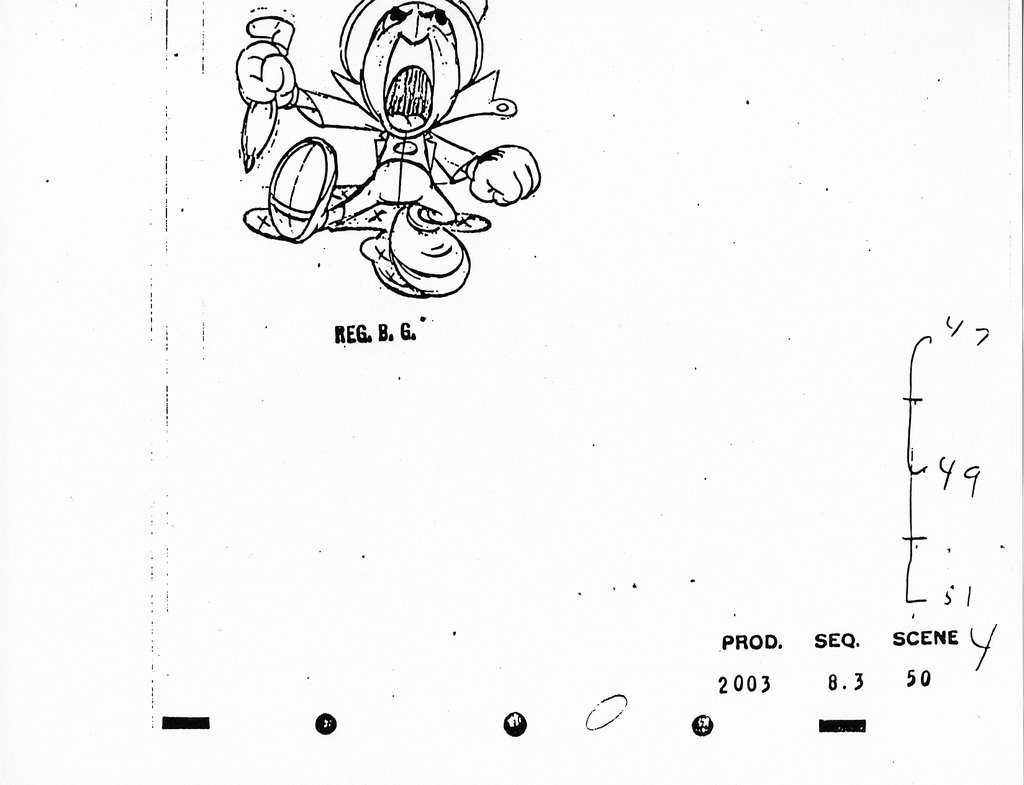
Once the animator received the dopesheet, layouts, model sheets, etc, he/she would get to work. The first thing to complete is the animation keys. These are the necessary descriptive rough poses which will spell out the action for the rest of the scene. Here are Ward Kimball's key poses for the scene in Pinocchio when Jiminy Cricket pops out of the billiard table hole to challenge Lampwick::


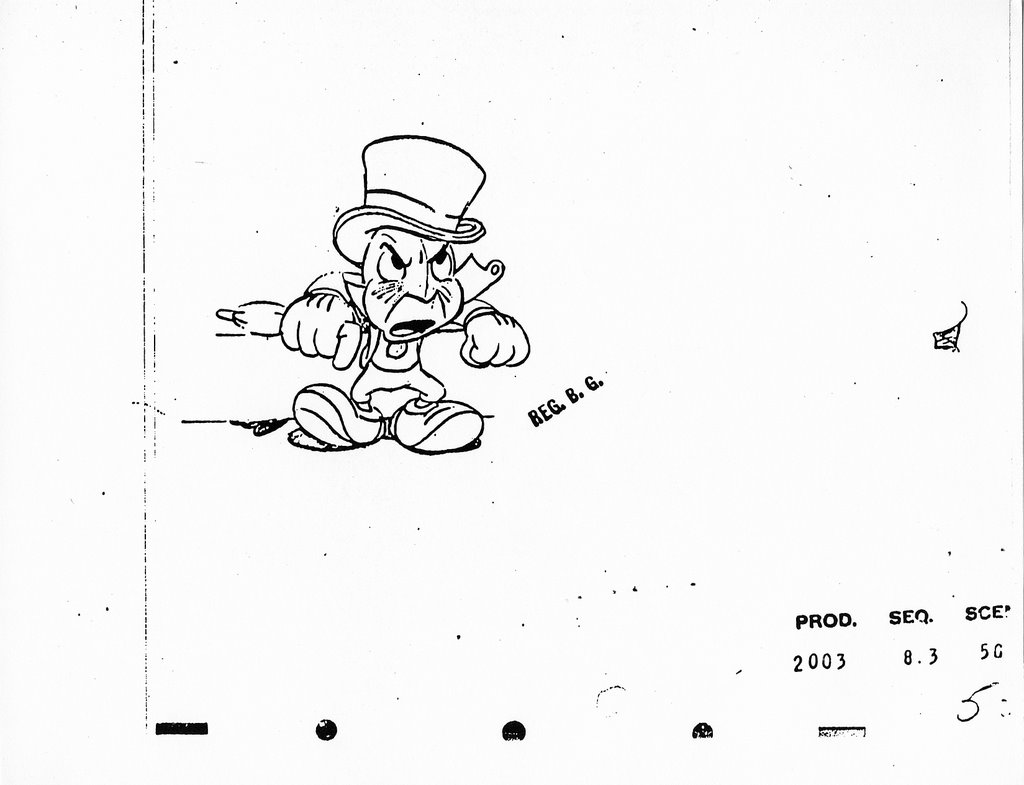
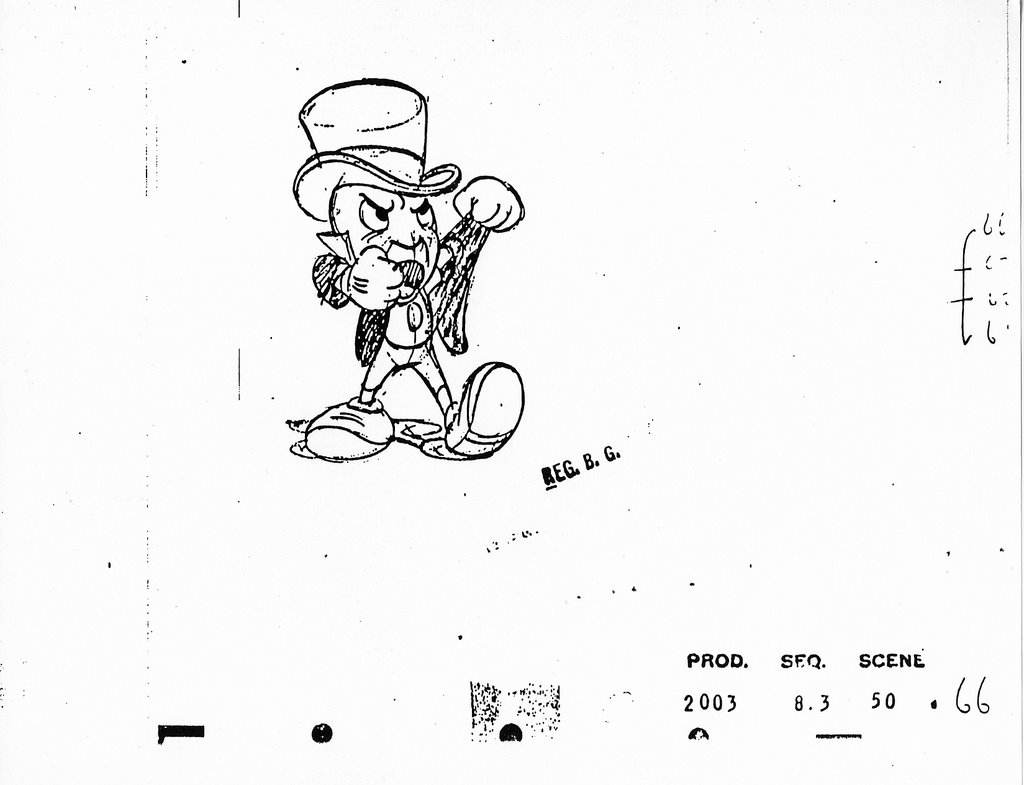

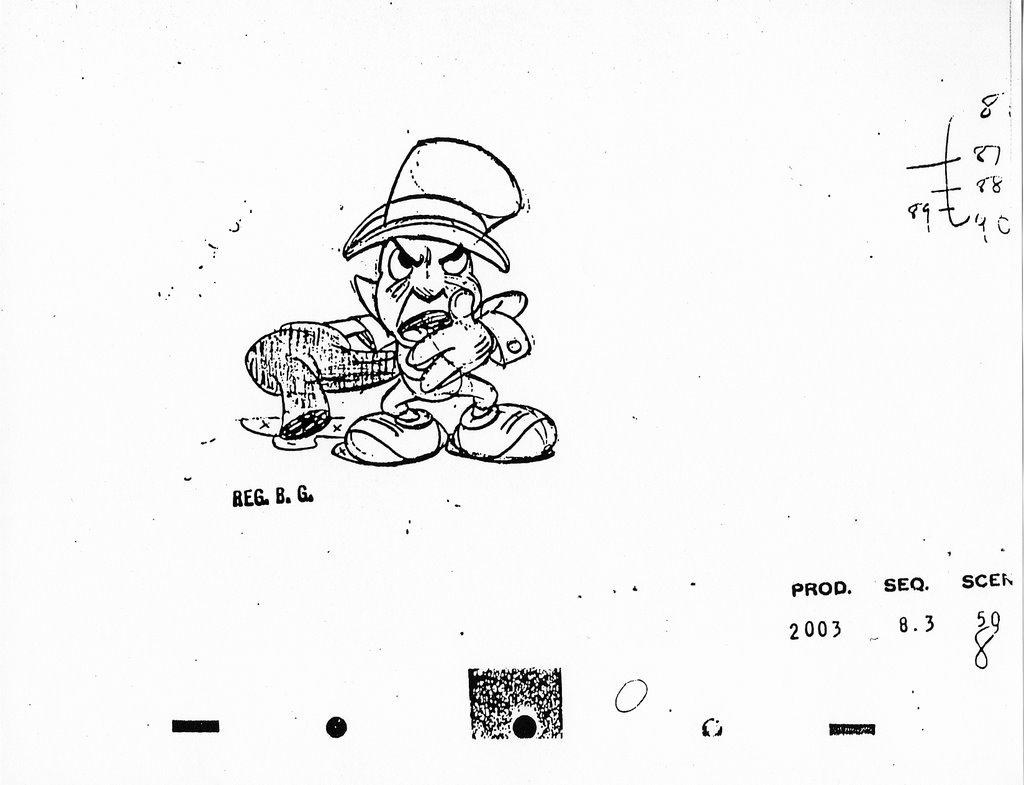

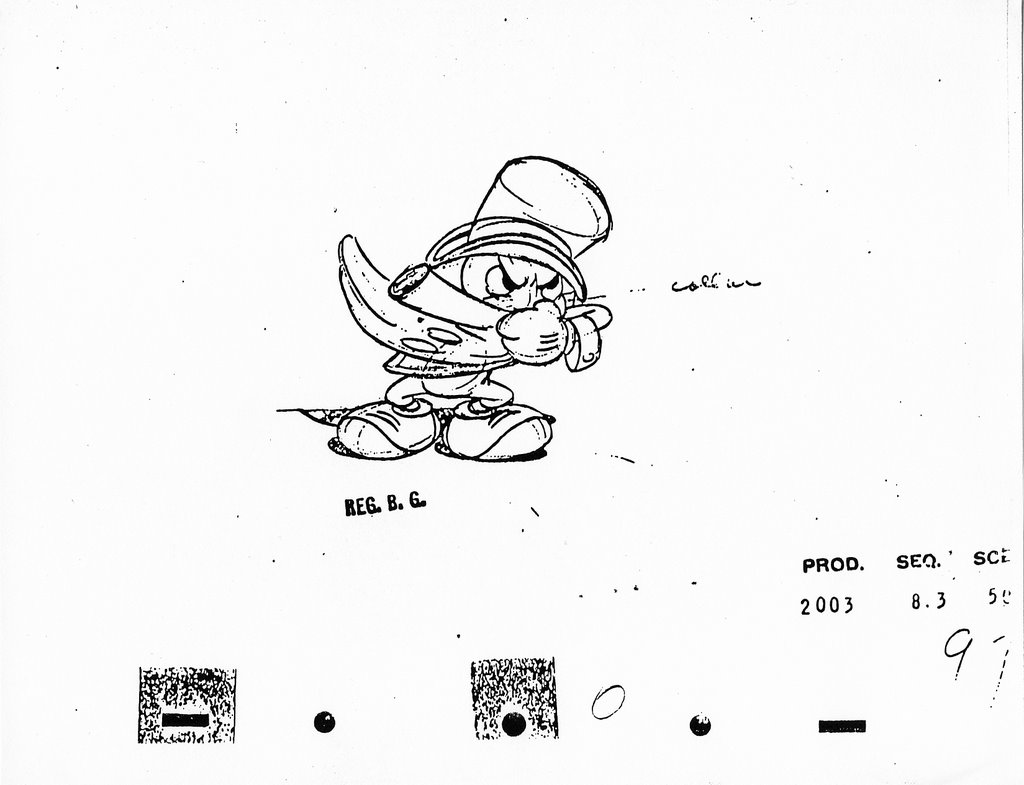


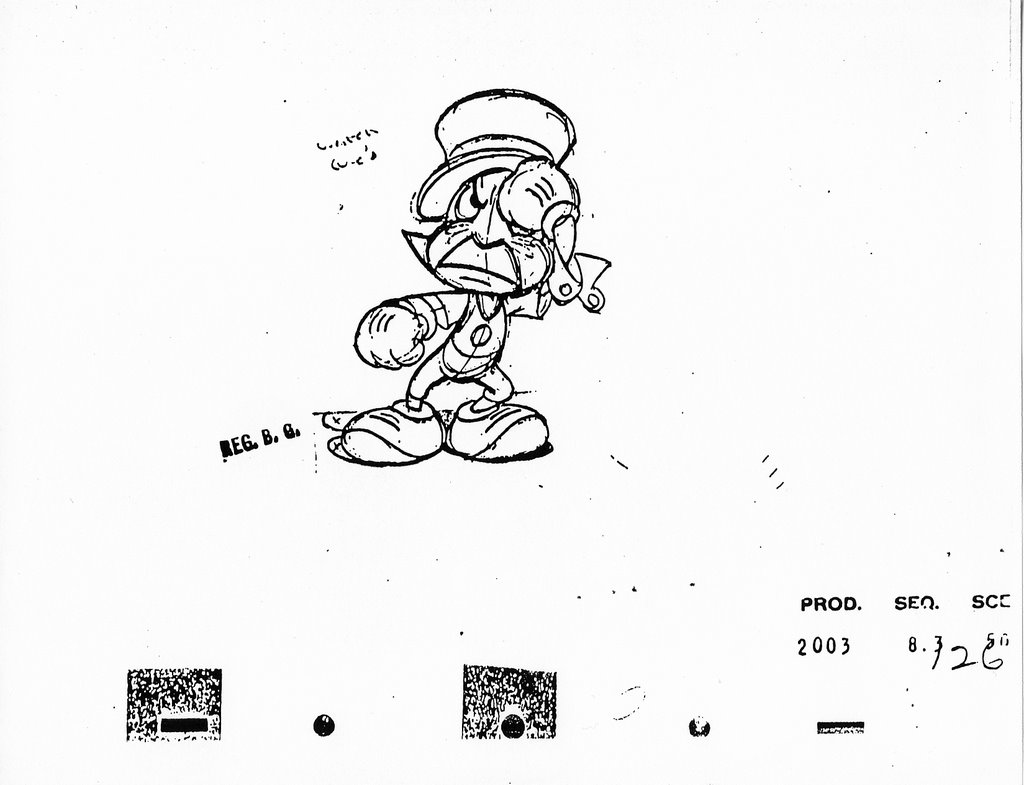
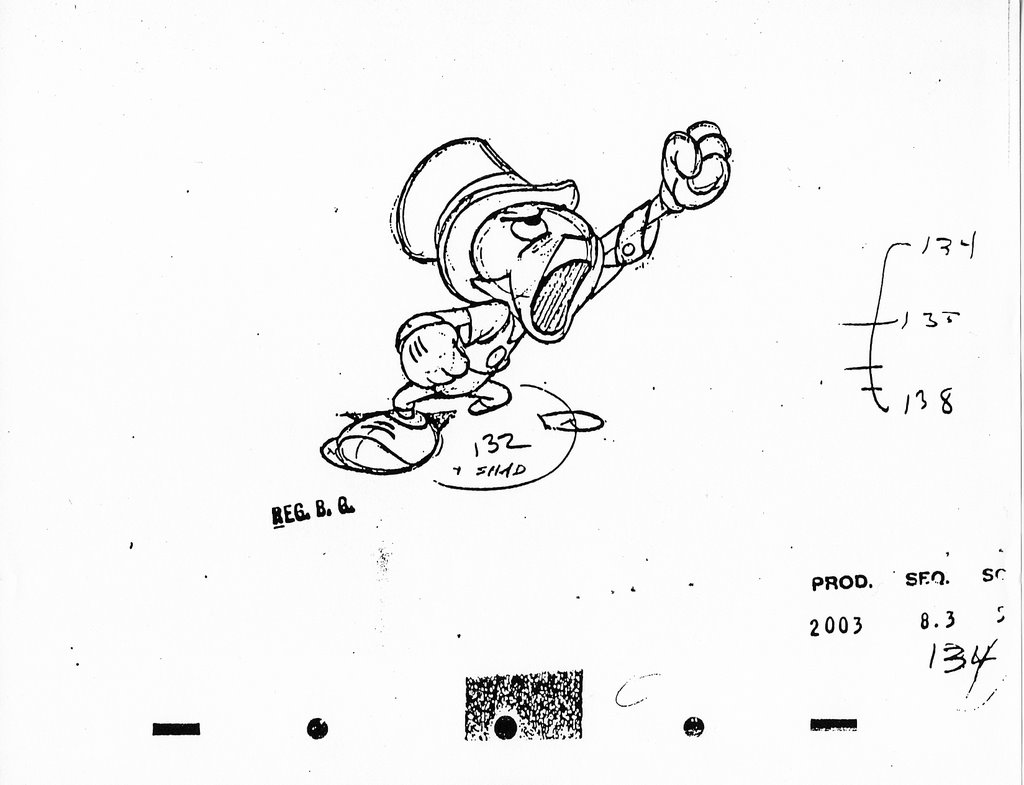


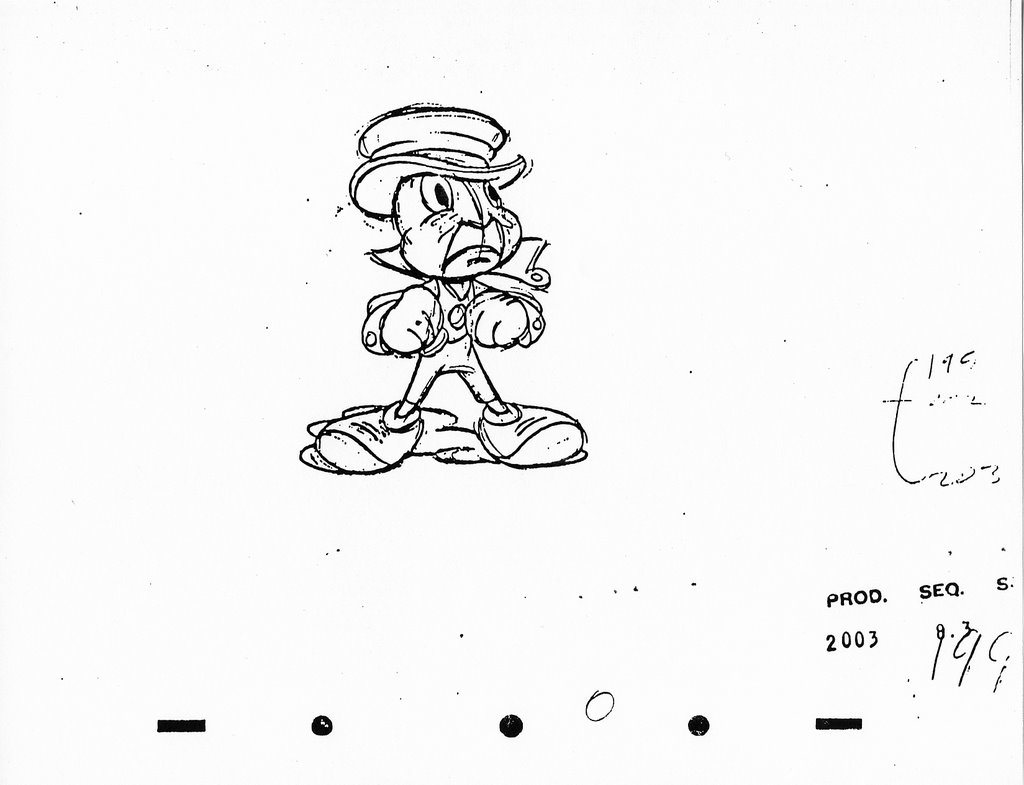


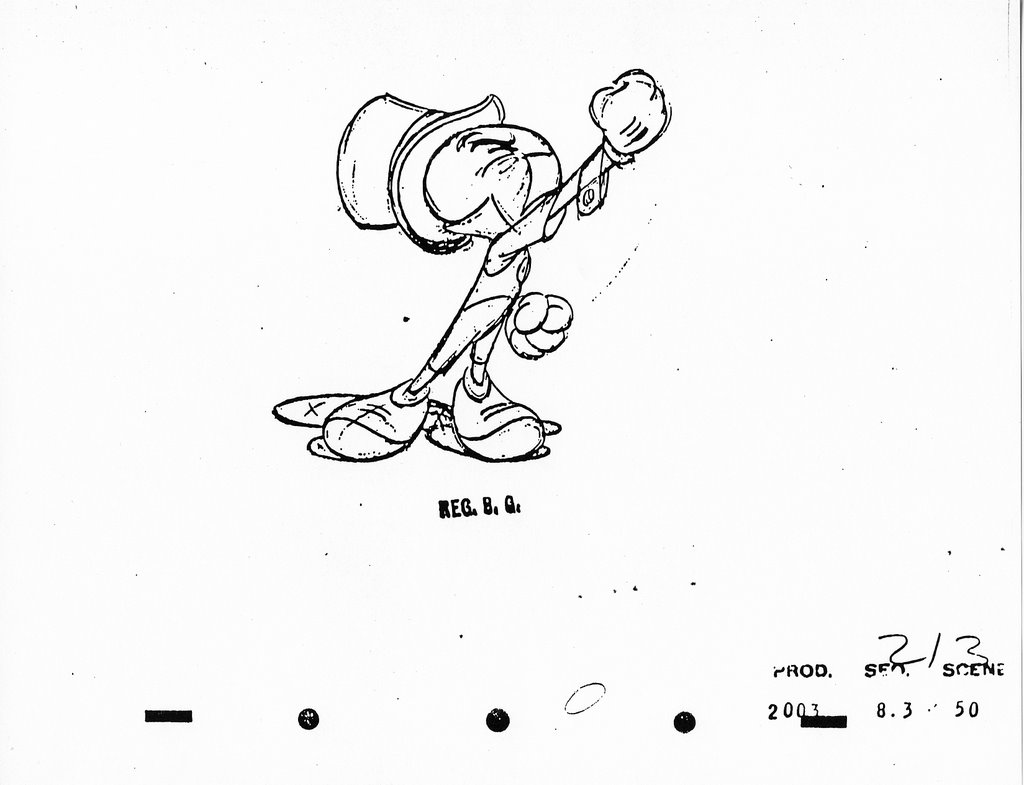


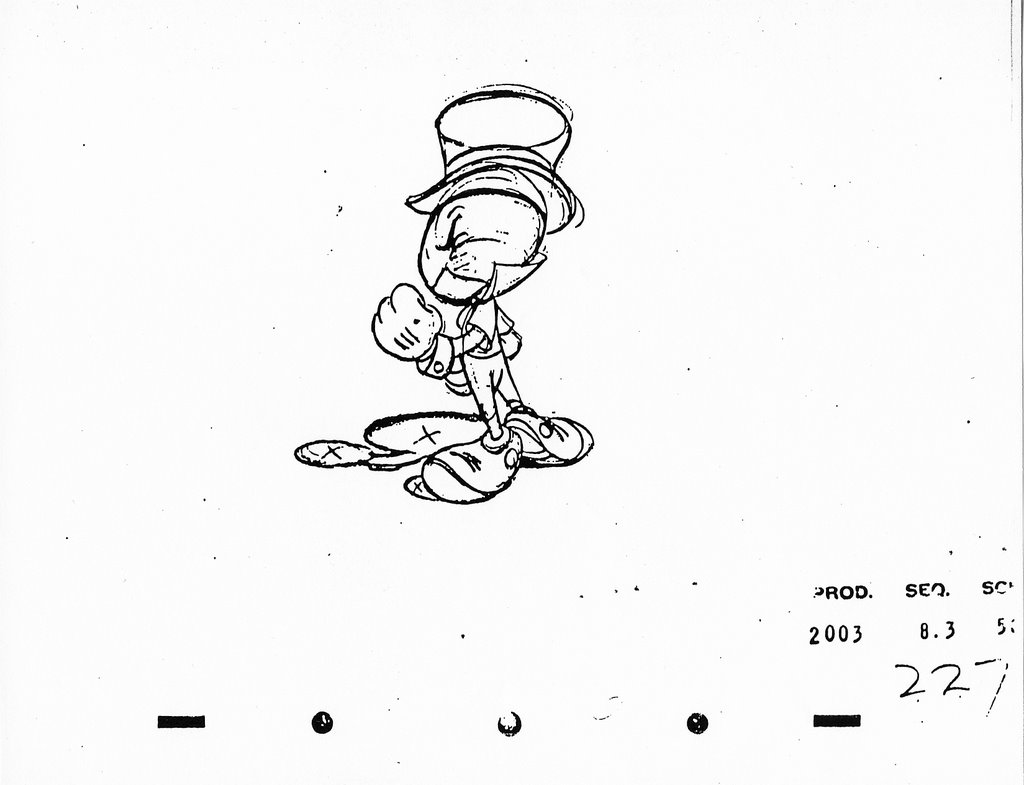


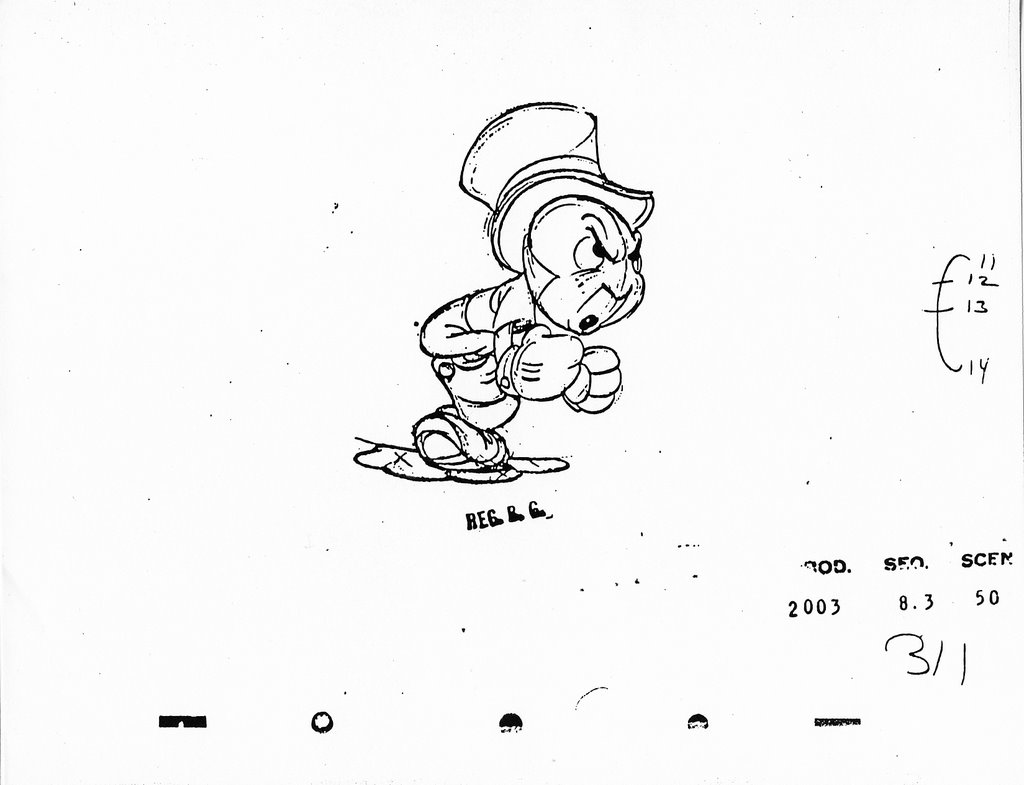

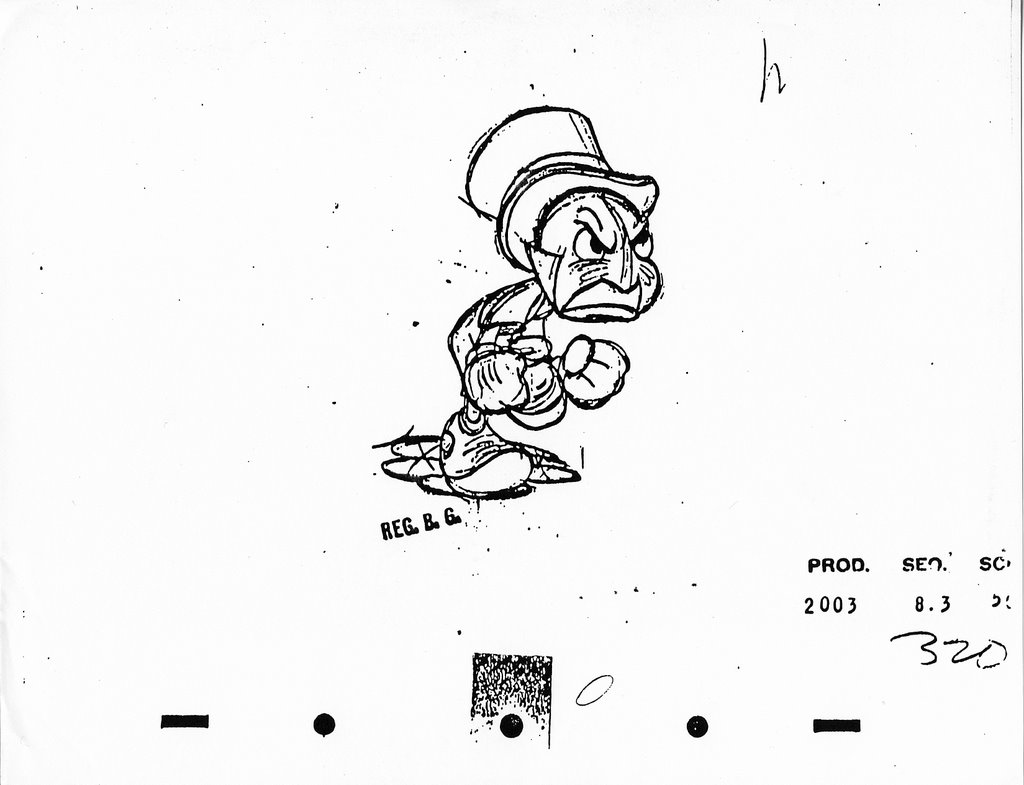
Those little 'trees' you see at the top rights of some ofthe pages are called "timing charts". They are indications to the inbetweener of how many drawings to put from one key to the next, and where they should be. For example, from the top and bottom lines of this 'chart', if there are many lines near the bottom, that means the inbetweener must add several drawings which are closer in resemblance to the last key drawing that was given, making an effect called "slowing out" of the action. How this would appear is that the character quickly moves into the action, but slows down near the end of it, for example, a character flies into the scene and hits a wall, slowing down after impact.
With the magic of today's technology, we can slap together a pencil test using digital methods, rather than having to film all the key poses to get an idea of what the action is looking like. This is a very powerful tool which saves a lot of time and drawings, since when the animator 'riffles' the drawings manually he can only view so much of the action:
Once the timing of this sequence would be accepted, the inbetweens are added. If all goes well, and the scene is OK'd by the animator and director, then it would be forwarded to the Ink & Paint Department for final rendition.
For interest's sake, here is what the final scene looked like:
I hope you found this quick lesson on making an animated cartoon interesting... I'll be back again with more on the subject in a few days.
posted by Larry T at
10:44 AM
|
6 comments
![]()

